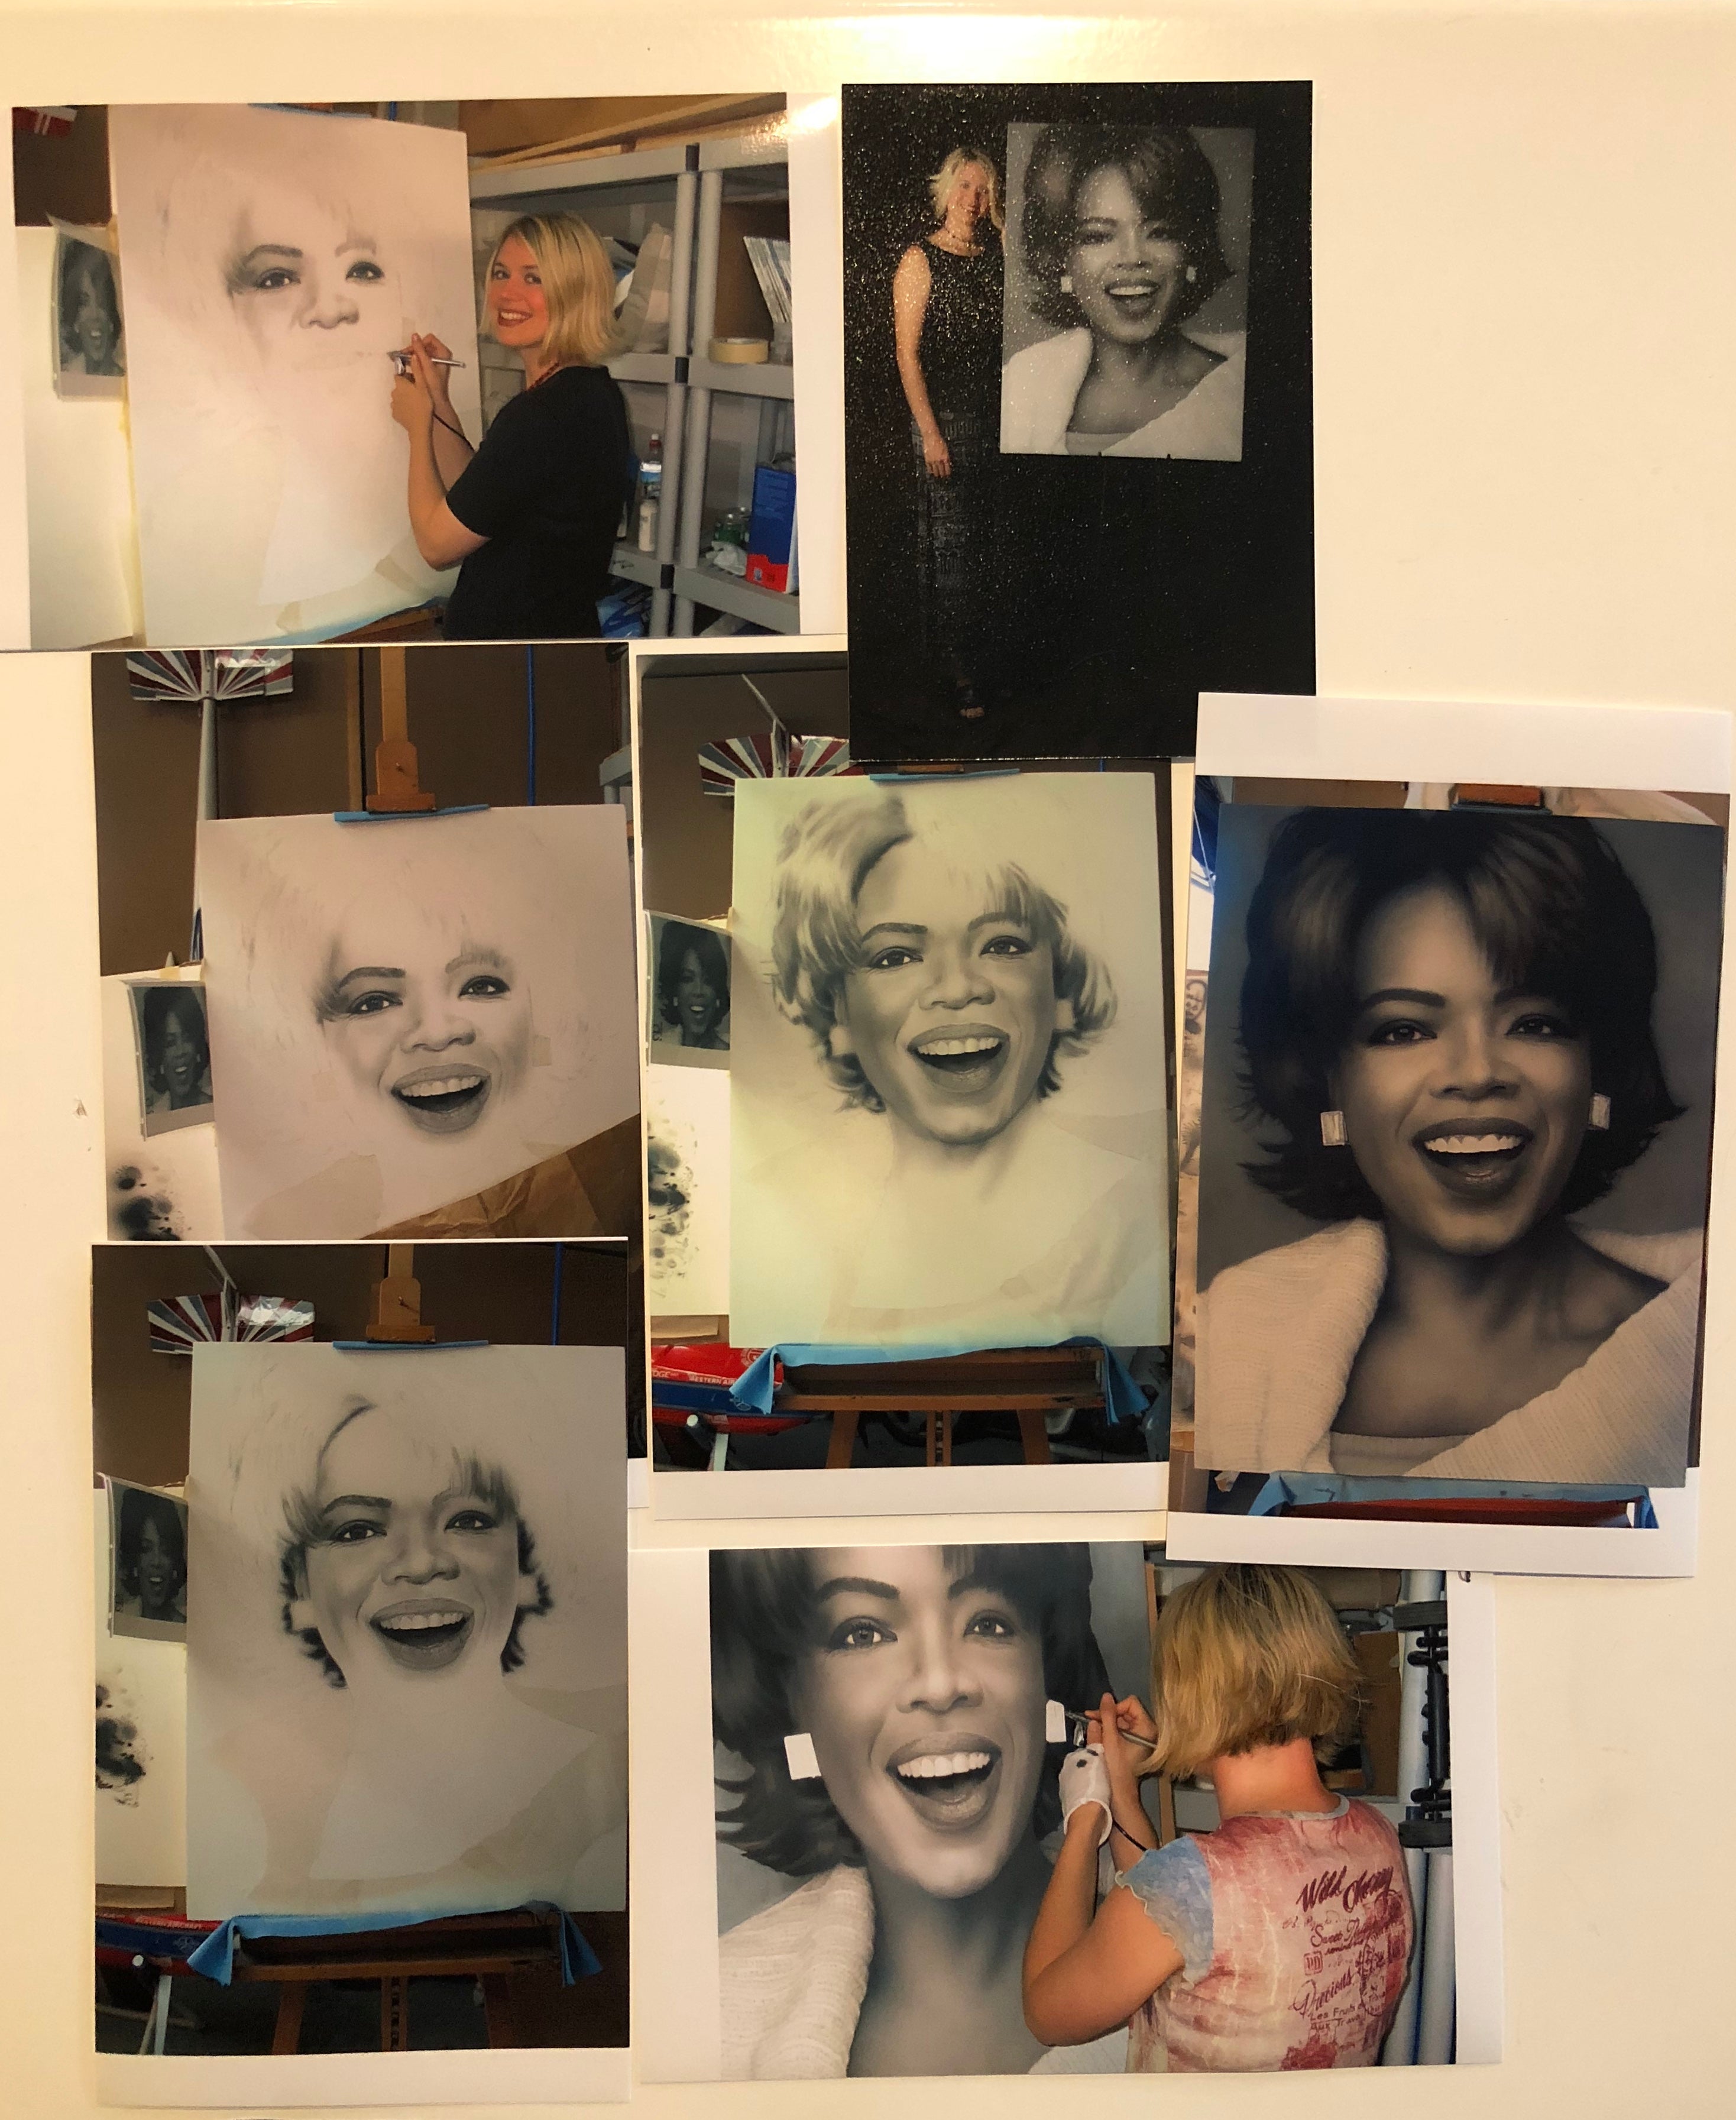
Airbrushing has a steeper learning curve than most painting techniques, mostly because so much of the control is invisible: air pressure, distance from the surface, how thinned your paint is. Here's what actually helps once you move past the basics.
Getting the setup right
Equipment matters more here than in most mediums. A decent compressor gives you steady, consistent air flow, which is the difference between a clean gradient and a splattery mess. Nozzle size matters too: a wider nozzle covers ground fast, a finer one is what you'll want for detail work. Most artists end up needing both.
Building up color in layers
Thin your paint with water or airbrush thinner until it flows smoothly, then build color in light passes rather than one heavy coat. This is the opposite instinct from brush painting, where you might load up a brush and go. With an airbrush, patience with thin layers gets you further than trying to nail the color in one pass, and it dramatically cuts down on drips and overspray.
Precision takes patience
Keep the airbrush moving as you work; holding it still in one spot is how you end up with a blotch instead of a gradient. Masking tape or stencils help when you need a clean, sharp edge rather than a soft one. And clean the nozzle after every session. Dried paint in an airbrush nozzle is one of the most common (and most avoidable) reasons a piece stops cooperating halfway through.
Study a real process
If you're aiming for photorealistic results, it helps to see how someone else actually built one. Holly Ellsworth-Rose's Oprah is a good case study: the level of precision in the shading and highlights only comes from working in thin, careful layers exactly like the ones described above, not from a single confident pass.
Airbrushing rewards the same thing most techniques do: hours logged, not shortcuts found. Browse Holly's full collection to see where that practice leads.